

Measure twice cut once, as someone probably always used to say, the practice and concept phases are really paying off now. So here is a run down of how I did it. First off I asked the community a harassing amount of questions and got some fantastic ideas, then watched a load of the Painting Buddha videos, and car painting videos (turns out the cling film effect doesn't work as well as I had hoped, simply too small a surface. Eventually I settled on a couple of pieces of reference and just decided to copy them with a combination of techniques.

If I'm feeling particularly brave I might put some green and blue streaks into it later. Terrified of this technique falling apart at the last moment.

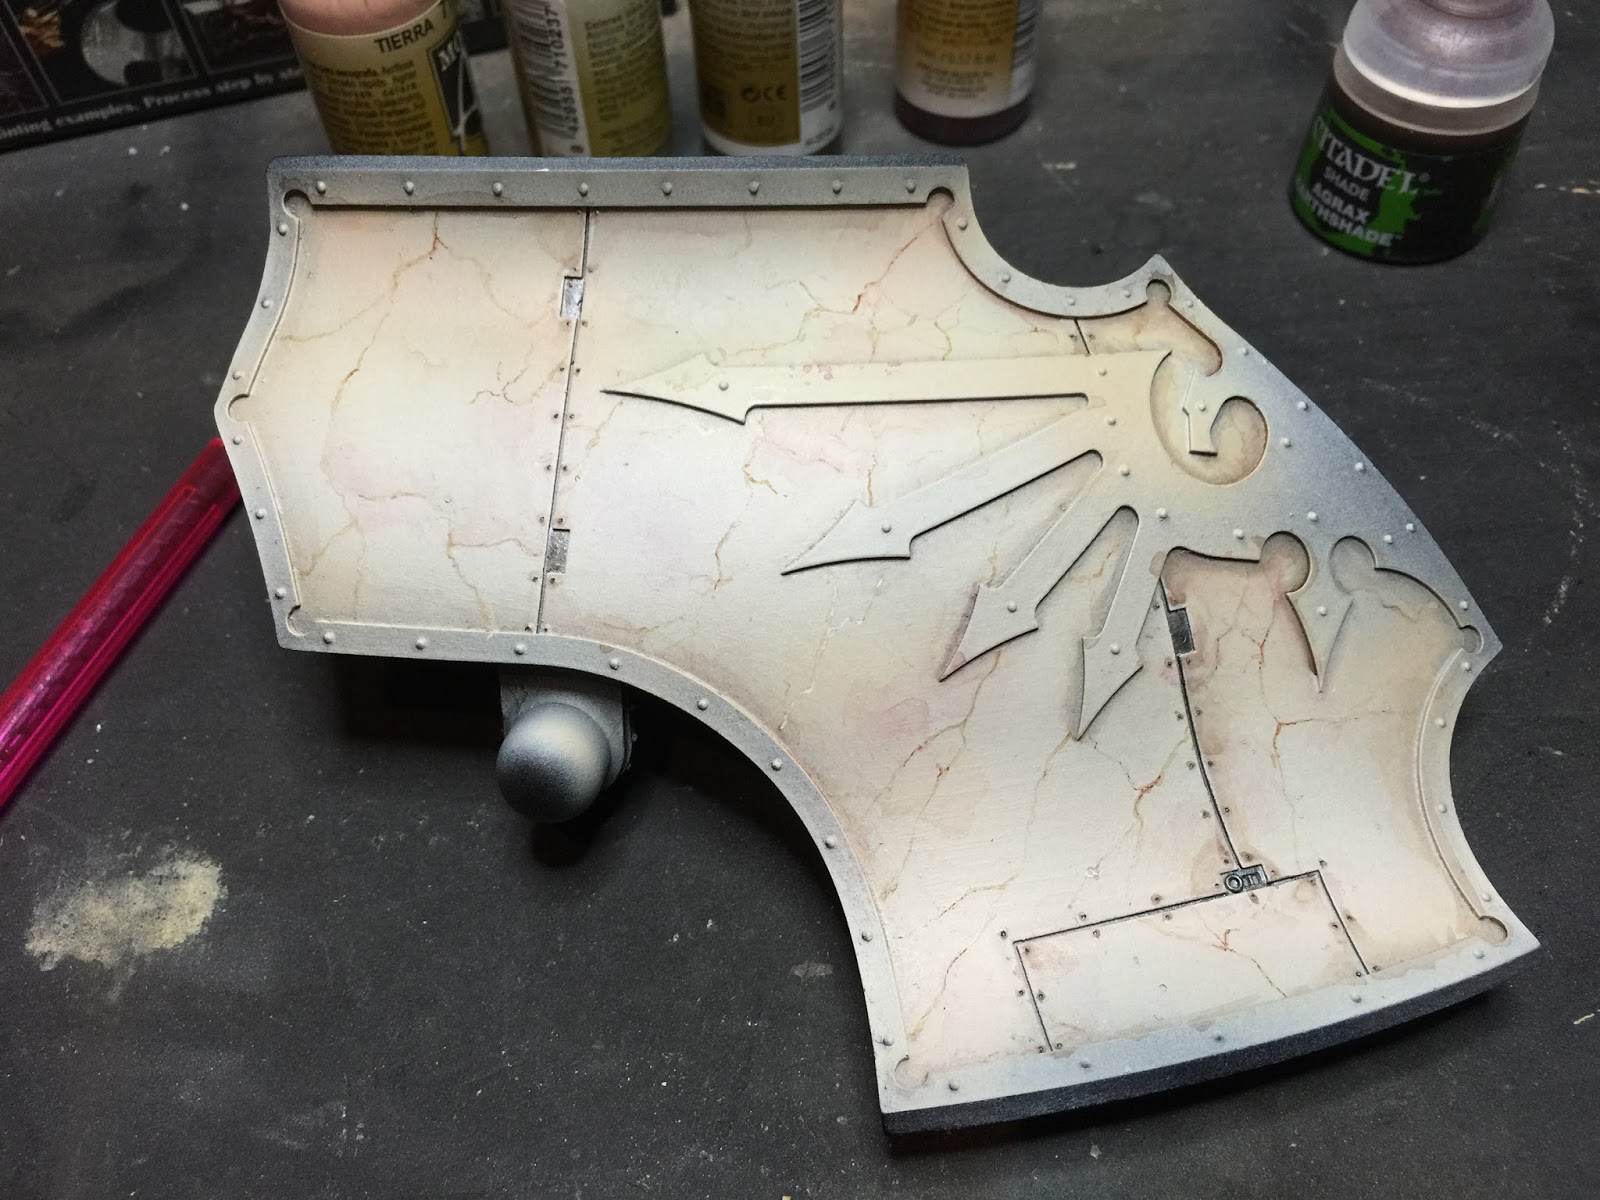
Stage one was a zenithal highlight. Didn't think I would go this route as there are so many layers but looking at marble it tends to come out kind of flat. So the more depth the better in these initial stages.

Next was laying down my rough thin colour pallet. Mainly Vallejo colours and plenty of water.

First that went down was a thin Sand colour, followed by a couple of drips of the Flat Tan into the dirty airbrush to lighten it with what was left of the Sand colour. (Horrible sentence, change before publish.)

Next was sponging. Held in tweezers chunks of sponge were dipped into mixtures of the base colour and HEAVILY watered Mahogany. The Mahogany colour is so dark there was a chance this step could go horribly wrong. The key to this stage, after much trial and error is keeping your colours varied but within your colour range. Green blue cream to deep red is a huge pallet to choose from.
After touching the surface with the sponge, a clean wet brush was quickly skimmed over the surface to break up the coffee stain edges. I wanted to keep some but not all. Thats the real trick to marble, knowing that combination of perfect fading blend and hard jarring lines.

Finally some cracks begin to show!
Veeeery vvvveeeery softly with a mechanical pencil the cracks are sketched into the marble. This not only gives you a guide but adds an extra layer of detail to the final result.
Then roughly trace with thick lines and a thin Seraphim Sepia wash over the pencil marks. A little of the pencil should show through.
Varying the thickness and colour a little will make it look more organic.

Next step was switching out the colours and stepping back down to the thinnest lines and tiniest dots I can do. Picking out small intersections of cracks to darken with nearly pure Mahogany.

Next up is the ground work for my weathering. Through looking at marble reference and "in the wild", when metal is attached or bolted into it it behaves in an odd way. Reacting amazingly with brass and iron, rust degrades it, rain stains it, verdigris destroys it. So going around the edges of the plates with a heavier filter of wash increases the contrast and gives me a nice dark recess to work with when the oil washes and dripping rust come out later.
Finally you can see, if you squint, in the center of the plate I've picked out a single crack in nearly pure white. As if there are impuritys in the marble. a vein of quartz or salt. I'll dot these around in places that seem a bit empty.
Finally the gold. This was a challenge as I had my concept planned and have specific reasons for keeping the colours in this way. Darker old gold around the marble to frame it. Not too much detail to draw the eye, touch of red in its weathering to draw a little more pink and rose from the marble itself. And the right tone to maximise the contrast. Thankfully I managed it with two layers of Viking gold from scale 75 and a shitload of nuln oil. :D

CONCEPT

Now to plan exactly how much of this im going to put on the beast.
Happy painting!
Henry


